Hey Hey Hey!!!!
If your hands are asking you to do something and you are concerned about ecology on this planet, take a look at my tutorials. Caution, they might inspire you for a long hours of creative work. If they do, please let me know via comment or email.
Have a very very nice day!
Показаны сообщения с ярлыком flexible plastic. Показать все сообщения

вторник, 10 августа 2010 г.

Tutorial: How to reuse yogurt plastic container

My vegan family eats a lot of dairy products, especially yogurt. I have started to collect and been thinking to reuse the yogurt containers for a long time, here is one of the ways. I use them to make a letter distinguisher for the garland.

1. I cut 0.5 cm of the yogurt container bottom off using cutter.
so I have things like this

2. I cut the letters of the name from craft felt.

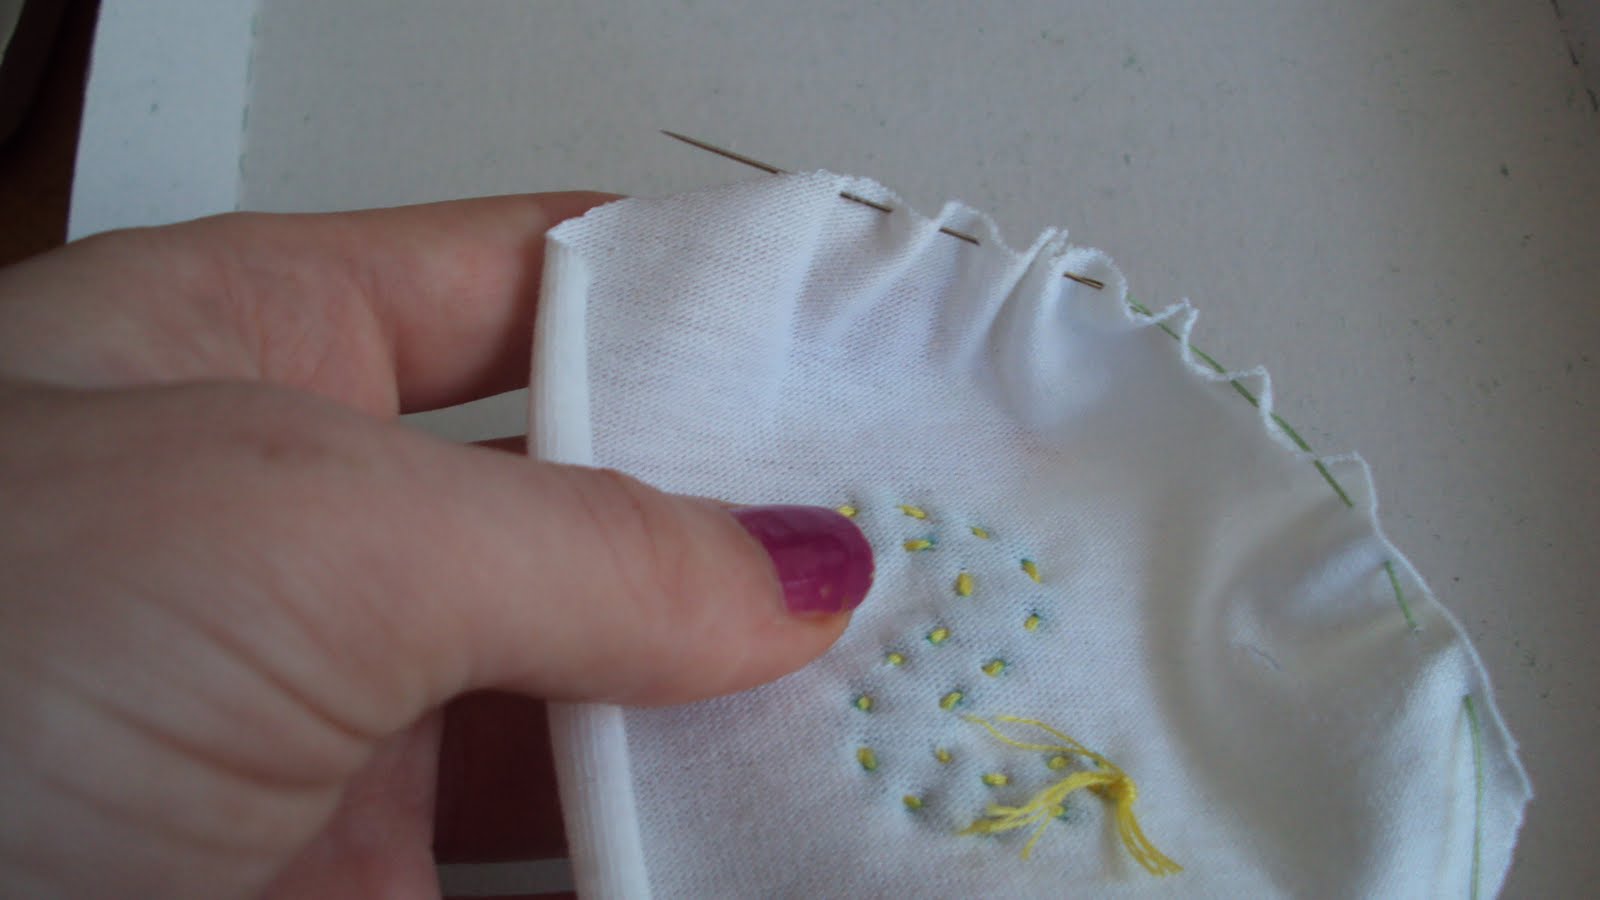
3. I cut the foam in the shape of the yogurt container bottom, adding 1 cm to the edge and I stitch the edge.
I pull the thread so the foam repeats the shape of the yogurt container bottom and is tight, so I have things like this (they start to look cute :)

4. I cut out fabric adding 2 cm to the edge of this puffs and stitch the name letters to the fabric.

5. I stitch the edge again and cover the puffs. 

6.Then work freely with the fabric (in this stage stretch fabric works beter), pull it and move it, so the fabric is not wrinkly and the letter is in the middle of the distinguisher (as I call it, may be you can come out with the better name, leave it in the comments)
The distinguisher look like this from the back side

7. I stitch each distinguished letter to the triangle of the garland

8. Finish the garland and put it on the wall to celebrate my son's birthday.


That's it. If you will be inspired and make your own distinguishers, please send me photos.
I also did some other things - for example a lion headband made with the same technology in my etsy shop.
Love the nature!


пятница, 14 мая 2010 г.

TUTORIAL: RECYCLING THE SOFT MILK PACKS INTO THE MULTI-PURPOSED STITCHED BUCKET (with pattern)

1. First you prepare the milk packs, you wash them, dry them and cut all the seams and unfold it, so the soft milk packs become just a square of plastic material like this


You will need at least 6 packs (my unfolded milk pack size is 30x23cm(12x9in)). You also can use any thick flexible plastic packs or fused plastic.

2. Print and cut out the pattern from this pdf files one, two, three. Please use some used paper. This bucket pattern is without the seam allowance. Either your bucket will be smaller or add up half a cm (1/4 inch).


3. Transfer the pattern to the plastic. First the outer side (4 walls and bottom), you may want to make it look beautiful and include the best of the pack drawings into the outer wall pieces, as you gonna see outer side more often. After cut out the inner side from the plastic that is left. If there are not enough full size pieces, stitch some pieces together by hand or with the machine and after that cut out the pattern. You may also want a beautiful drawing on the inner bottom. I used a heart image from a fabric conditioner pack.
I sewn with the machine the inner side. Also possible to do it by hand. This material is a bit tricky and can slide to sides when you sew it. When I had my inner part ready, i put it aside.


4. I stitched manually outer part using the bias. First wall sides and then the bottom part. I used rather big needle and rather thick thread.

5. Cut out the sponge. I used it only for the walls. So that the spongeless bottom allows you to fold the bucket easily and keep it folded.

I stitched by hand 3-4 cm center of the sponge to the center of the inner wall. To stitch the walls of the sponge is unnecessary. When you put this inside, it will still keep the shape.

6. Put the two parts of the flexible milk pack bucket together (checked twice that that bottom angles and upper wall sides are matching (cut a bit where they exceed)) and stitch them. I started from the middle of the walls, so I can correct in the corners a little bit more to make "in and out wall seams" match perfectly.


7. Here we go, the bucket is ready and is used for keeping the stuff.